Note
Access to this page requires authorization. You can try signing in or changing directories.
Access to this page requires authorization. You can try changing directories.
This article explains how to create a custom API in Power Apps for Microsoft Dataverse by using a solution. Follow these steps to define request and response properties, test the custom API, and associate its plug-in type. If you're not familiar with solutions, first read Create a solution.
Your solution must be associated with a publisher. The publisher has a specific customization prefix associated with it. You must use a customization prefix when creating a custom API, and this prefix should be the same prefix used by the publisher of your solution. The following instructions use the value sample as the customization prefix because it's the one set for the publisher.
Important
- There's now a better experience for creating custom API. You can use a designer within the Plug-in registration tool. For more information, see Create a custom API using the plug-in registration tool.
- You can't change many fields related to creating custom API after you create them. Carefully plan the design of the custom API before you start. If you later decide that you need to change these fields, you might need to delete the existing record and re-create the custom API. For more information, see CustomAPI tables.
Create a custom API record
In your solution, select New > More > Other > custom API from the drop-down.
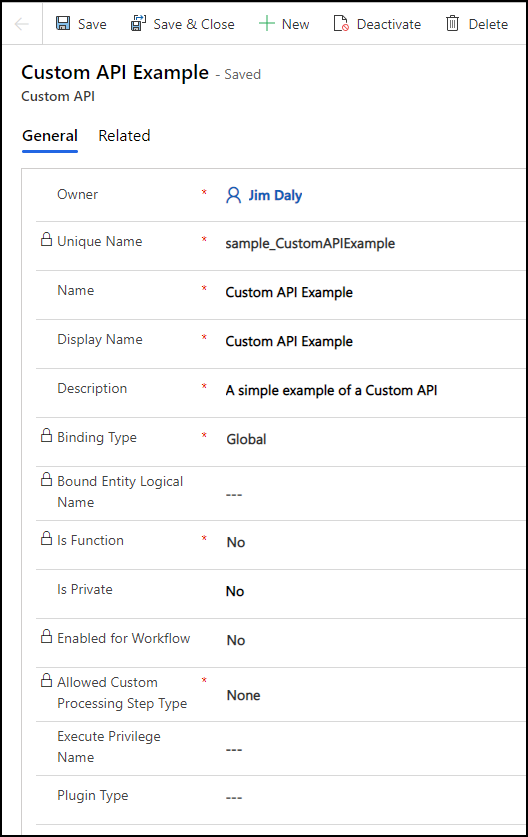
Edit the fields to set the properties of your custom API. Set values for the following fields. For more information, see Custom API table columns.
You can't set values for Plug-in Type before you create the plug-in. You can change this value later.
Select Save. Your form should look similar to the following image:
Create request parameters
A custom API doesn't require parameters. Create as many parameters as you need to pass data needed for your logic.
In your solution, select New > More > Other > Custom API Request Parameter from the drop-down.
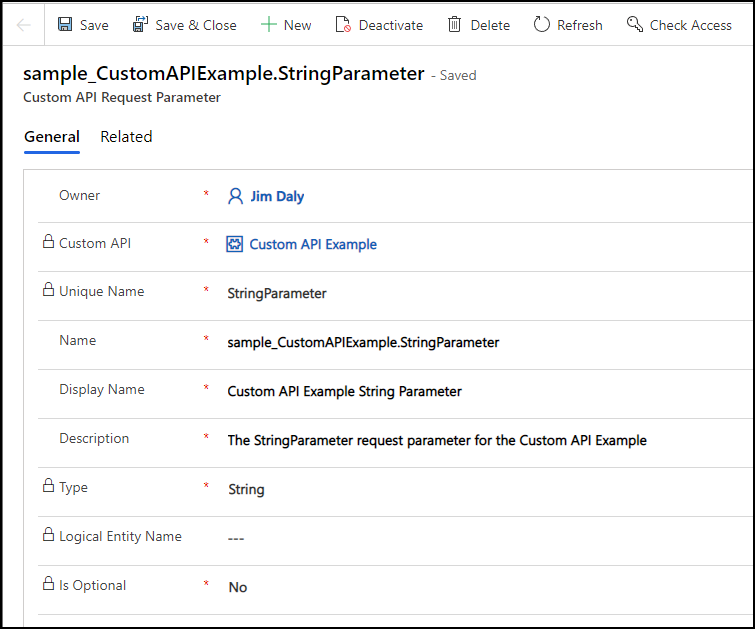
Edit the fields to set the properties of your custom API request parameter. For more information, see CustomAPIRequestParameter Table Columns.
Select Save. Your form should look similar to the following image:
Create response properties
A custom API that represents an Action doesn't require response properties. A Function must have at least one. If the operation succeeds, it returns a success response. If it fails, it returns an error. Define response properties for any data that your API returns.
If you define only a single Entity or EntityCollection response property, the response is of that type. If you define multiple properties, or one or more properties of a simple type, the API returns a complex type where each response property is a property of that complex type.
For example, if your custom API unique name is sample_CustomAPIExample, it returns a complex type named sample_CustomAPIExampleResponse with properties for each response property you define.
In your solution, select New > More > Other > Custom API Response Property from the drop-down.
Edit the fields to set the properties of your custom API response property. For more information, see CustomAPIResponseProperty Table Columns.
Select Save. Your form should look similar to the following image:

Observe the result in the service document
If you don't set the IsPrivate property for your custom API, you can retrieve the service definition from the CSDL $metadata document by using a GET request, even from your browser. If the URL for your environment is https://yourorg.crm.dynamics.com, you can type this URL in your browser address field to retrieve the $metadata: https://yourorg.crm.dynamics.com/api/data/v9.1/$metadata.
Search the result to find the name of the custom API. For example, the API defined by using the preceding steps looks like this:
<ComplexType Name="sample_CustomAPIExampleResponse">
    <Property Name="StringProperty" Type="Edm.String" Unicode="false" />
</ComplexType>
<Action Name="sample_CustomAPIExample">
    <Parameter Name="StringParameter" Type="Edm.String" Nullable="false" Unicode="false" />
    <ReturnType Type="mscrm.sample_CustomAPIExampleResponse" Nullable="false" />
</Action>
Test your custom API
After you create your custom API, you can try it. Even if you don't set a plug-in type to define the main operation, you can test it now to verify that you can call it correctly. Any response properties return their default value, such as null. For more information, see Invoking custom APIs.
Update the custom API plug-in type
For information about how to write a plug-in for a custom api, see Write a Plug-in for your custom API.
After you register your assembly, you need to set the Plugin Type value for the custom API you created. This value is a lookup property, so you just need to find the Plug-in Type that represents the type created when you registered the assembly.
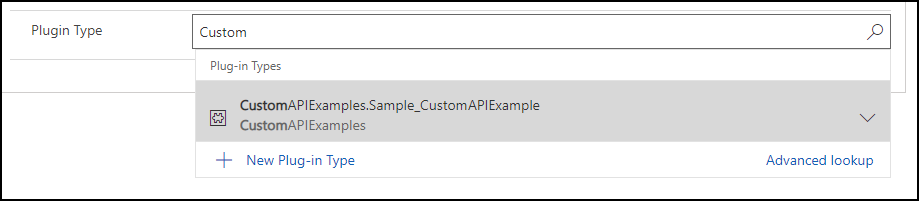
After you set the Plugin Type, you can test your custom API to verify the correct results are returned.
Other ways to create custom APIs
The plugin registration tool provides a custom API designer. For more information, see Create a custom API using the plug-in registration tool.
You might have requirements to create a client application that allows creation of custom APIs outside of the designer. Because the data for custom APIs is stored in tables, you can create them by using code. For more information, see Create a custom API with code.
Your ALM process might be better served by creating custom APIs by editing solution files. For more information, see Create a custom API with solution files.
See also
Create and use custom APIs
Create a custom API using the plug-in registration tool
Create a custom API with code
Create a custom API with solution files
Create your own messages