Note
Access to this page requires authorization. You can try signing in or changing directories.
Access to this page requires authorization. You can try changing directories.
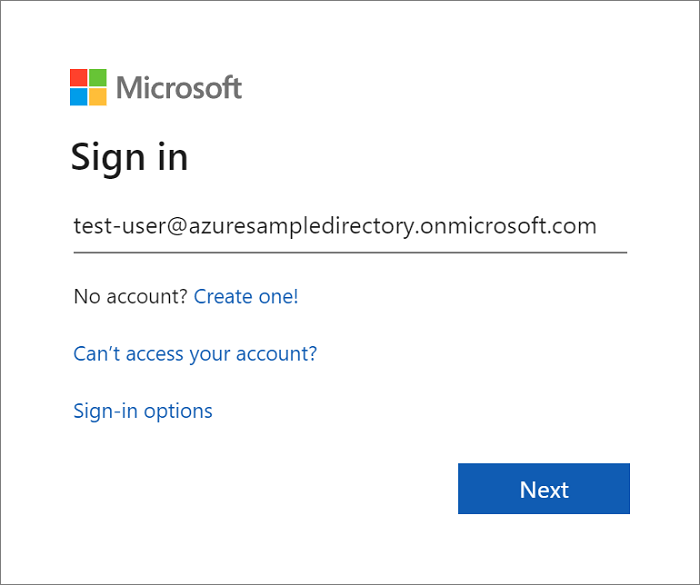
This article shows you how to develop a Spring web app that supports sign-in by Microsoft Entra account. After finishing all steps in this article, the web app redirects to the Microsoft Entra sign-in page when it's accessed anonymously. The following screenshot shows the Microsoft Entra sign-in page:
Prerequisites
To complete the steps in this article, you need the following prerequisites:
- A supported Java Development Kit (JDK). For more information about the JDKs available for use when developing on Azure, see Java support on Azure and Azure Stack.
- Apache Maven, version 3.0 or higher.
- An Azure subscription. If you don't have an Azure subscription, create a free account.
Important
Spring Boot version 2.5 or higher is required to complete the steps in this article.
Create an app using Spring Initializr
Browse to https://start.spring.io/.
Specify that you want to generate a Maven project with Java. Enter the Group and Artifact names for your application.
Add Dependencies for Spring Web and OAuth2 Client.
At the bottom of the page, select the GENERATE button.
When prompted, download the project to a path on your local computer.
Add the Microsoft Entra dependency
Extract the downloaded project files to a directory on your local computer.
Open the pom.xml file in a text editor.
Add the Spring Cloud Azure Bill of Materials (BOM) to the
<dependencyManagement>section.<dependencyManagement> <dependencies> <dependency> <groupId>com.azure.spring</groupId> <artifactId>spring-cloud-azure-dependencies</artifactId> <version>7.4.0</version> <type>pom</type> <scope>import</scope> </dependency> </dependencies> </dependencyManagement>Add the Spring Cloud Azure Starter Microsoft Entra dependency to the
<dependencies>section.<dependency> <groupId>com.azure.spring</groupId> <artifactId>spring-cloud-azure-starter-active-directory</artifactId> </dependency>Save and close the pom.xml file.
Create the Microsoft Entra instance
If you're the administrator of an existing instance, you can skip this process.
Log into https://portal.azure.com.
Select All services, then Identity, and then Microsoft Entra ID.
Enter your Organization name and your Initial domain name. Copy the full URL of your directory. You'll use the URL to add user accounts later in this tutorial. (For example:
azuresampledirectory.onmicrosoft.com.)Copy the full URL of your directory. You'll use the URL to add user accounts later in this tutorial. (For example:
azuresampledirectory.onmicrosoft.com.).When you've finished, select Create. It will take a few minutes to create the new resource.
When complete, select the displayed link to access the new directory.
Copy the Tenant ID. You'll use the ID value to configure your application.properties file later in this tutorial.
Add an application registration for your Spring Boot app
From the portal menu, select App registrations, and then select Register an application.
Specify your application, and then select Register.
When the page for your app registration appears, copy your Application (client) ID and the Tenant ID. Use these values to configure your application.properties file later in this tutorial.
Select Certificates & secrets in the navigation pane. Then, select New client secret.

Add a Description and select duration in the Expires list. Select Add. The value for the key is automatically filled in.
Copy and save the value of the client secret to configure your application.properties file later in this tutorial. (You can't retrieve this value later.)

From the main page for your app registration, select Authentication, and select Add a platform. Then select Web applications.
For a new Redirect URI, enter
http://localhost:8080/login/oauth2/code/, and then select Configure.If you modified the pom.xml file to use a Microsoft Entra starter version earlier than 3.0.0: under Implicit grant and hybrid flows, select ID tokens (used for implicit and hybrid flows), and then select Save.


Add a user account and assign a Microsoft Entra app role
From the Overview page of your Microsoft Entra ID tenant, select Users, and then select New user.
When the User panel is displayed, enter the User name and Name. Then select Create.

Note
You need to specify your directory URL from earlier in this tutorial when you enter the user name. For example:
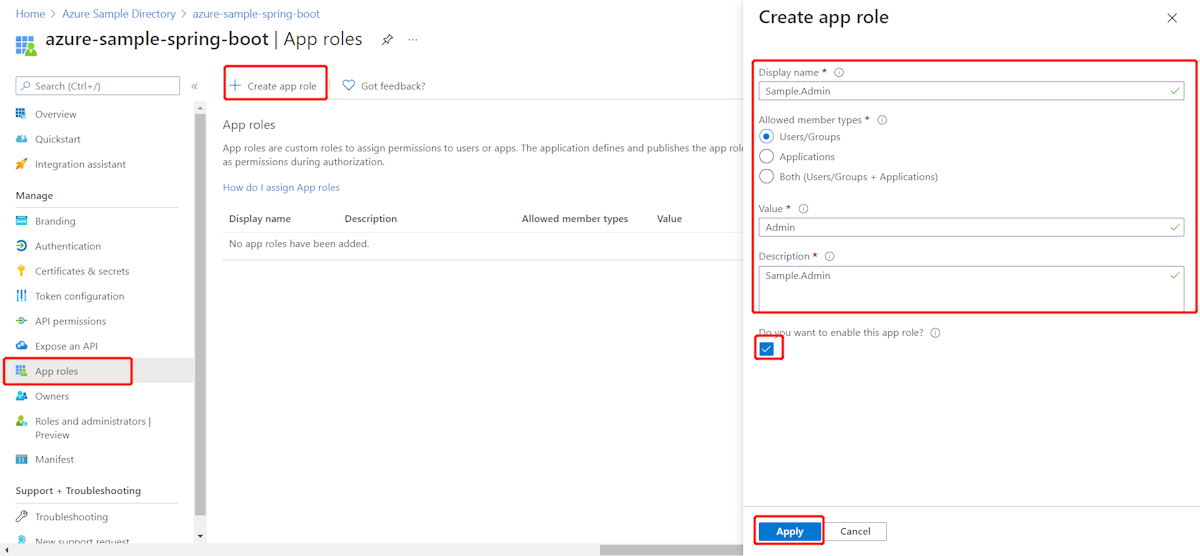
test-user@azuresampledirectory.onmicrosoft.comFrom the main page for your app registration, select App roles, and then select Create app role. Provide values for the form fields, select Do you want to enable this app role?, and then select Apply.
From the Overview page of your Microsoft Entra directory, select Enterprise applications.
Select All applications, and then select the application you added the app role to in a previous step.
Select Users and groups, and then select Add user/group.
Under Users, select None Selected. Select the user you created earlier, select Select, and then select Assign. If you created more than one app role earlier, select a role.
Go back to the Users panel, select your test user, and select Reset password. Copy the password. You use the password when you log into your application later in this tutorial.
Configure and compile your app
Extract the files from the project archive you created and downloaded earlier in this tutorial into a directory.
Go to the src/main/resources folder in your project, and then open the application.properties file in a text editor.
Specify the settings for your app registration by using the values you created earlier. For example:
# Enable related features.
spring.cloud.azure.active-directory.enabled=true
# Specifies your Microsoft Entra ID tenant ID:
spring.cloud.azure.active-directory.profile.tenant-id=<tenant-ID>
# Specifies your App Registration's Application ID:
spring.cloud.azure.active-directory.credential.client-id=<client-ID>
# Specifies your App Registration's secret key:
spring.cloud.azure.active-directory.credential.client-secret=<client-secret>
Where:
Parameter Description spring.cloud.azure.active-directory.enabledEnables the features provided by spring-cloud-azure-starter-active-directory.spring.cloud.azure.active-directory.profile.tenant-idContains your Microsoft Entra ID tenant's Tenant ID from earlier. spring.cloud.azure.active-directory.credential.client-idContains the Application ID from your app registration that you completed earlier. spring.cloud.azure.active-directory.credential.client-secretContains the Value from your app registration key that you completed earlier. Save and close the application.properties file.
Create a folder named controller in the Java source folder for your application. For example: src/main/java/com/wingtiptoys/security/controller.
Create a new Java file named HelloController.java in the controller folder and open it in a text editor.
Enter the following code, and then save and close the file:
package com.wingtiptoys.security;

import org.springframework.web.bind.annotation.GetMapping;
import org.springframework.web.bind.annotation.ResponseBody;
import org.springframework.web.bind.annotation.RestController;
import org.springframework.security.access.prepost.PreAuthorize;

@RestController
public class HelloController {
     @GetMapping("Admin")
     @ResponseBody
     @PreAuthorize("hasAuthority('APPROLE_Admin')")
     public String Admin() {
         return "Admin message";
     }
}
Build and test your app
Open a command prompt and change directory to the folder where your app's pom.xml file is located.
Build your Spring Boot application with Maven and run it. For example:
mvn clean package
mvn spring-boot:run
After Maven builds and starts your application, open
http://localhost:8080/Adminin a web browser. You're prompted for a user name and password.
Note
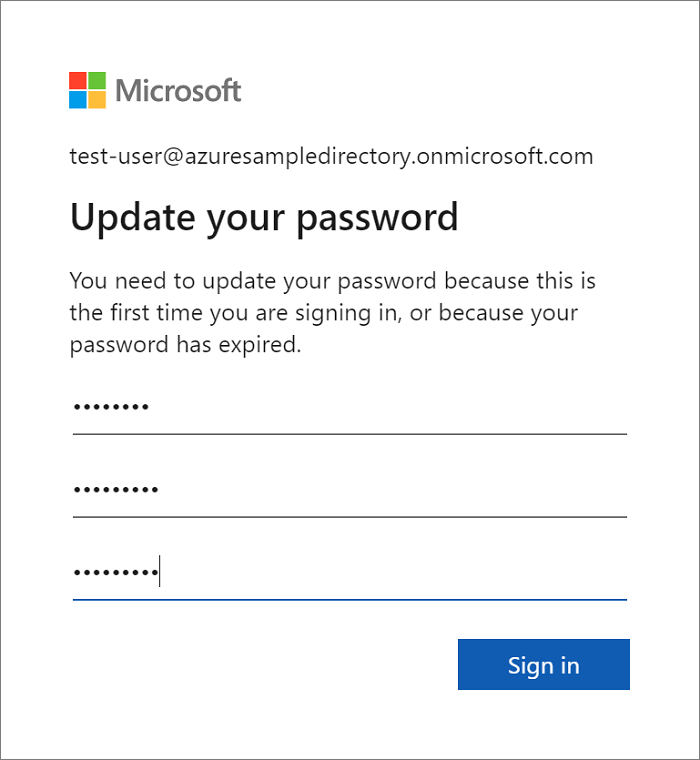
You might be prompted to change your password if this is the first sign in for a new user account.
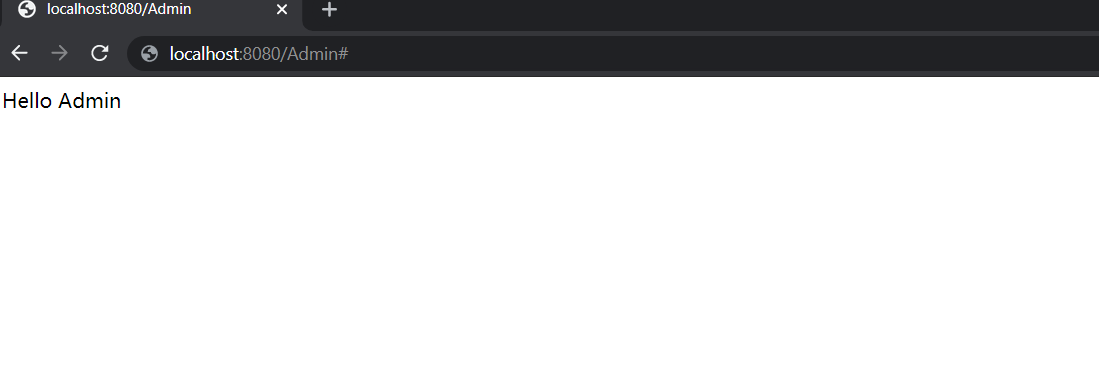
After you sign in successfully, you see the sample "Admin message" text from the controller.
Summary
In this tutorial, you created a new Java web application by using the Microsoft Entra starter, configured a new Microsoft Entra tenant, registered a new application in the tenant, and then configured your application to use the Spring annotations and classes to protect the web app.
See also
- For information about new UI options, see New Azure portal app registration training guide.
Next steps
To learn more about Spring and Azure, continue to the Spring on Azure documentation center.